
Cart
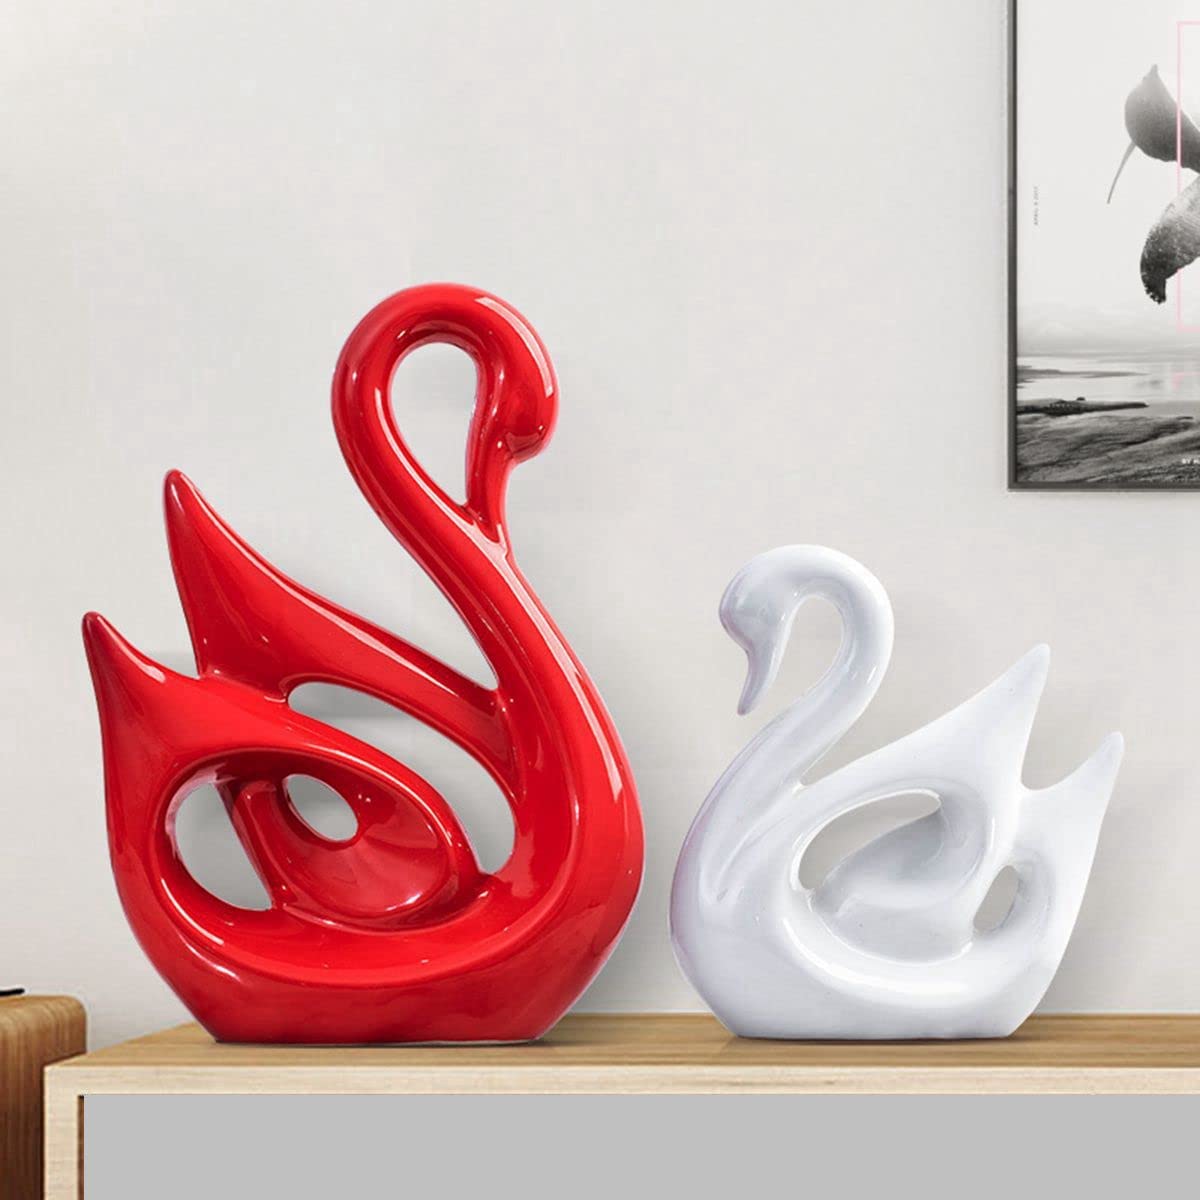
Welcome to your new house, you stylish homeowner, you! Now comes the fun part – turning those blank walls from "meh" to "magnificent" without putting a million holes in your fresh drywall. Enter floating shelves: the ninja warriors of home decor that appear to defy gravity while making your space look pulled together faster than you can say "where should I put this plant?" These magical wall additions aren't just practical storage solutions – they're personality showcases, conversation starters, and the easiest way to make people think you actually have your life together (even if you're still eating takeout off paper plates). Whether you're a minimalist who displays exactly three carefully curated objects or a maximalist ready to showcase your collection of vintage salt shakers, I'm about to walk you through 12 ways to float your way to wall perfection! If you're serious about making a style statement right at move-in, consider a Stunning Abstract Showpiece for side wall display in your new house shelves to bring in artistic vibes with minimal effort.

Let's get one thing straight – floating shelves are called "floating" because they have no visible brackets or supports. They appear to magically hover against your wall like they're defying the laws of physics (though they're actually secured with hidden hardware, but let's keep that between us). This clean, bracket-free look is exactly what makes them so versatile and modern. They work in literally any room, from showcasing your cookbook collection in the kitchen to displaying your impressive shampoo arsenal in the bathroom. The best part? They come in endless materials – sleek glass, rustic wood, industrial metal – meaning they can match any design personality from "farmhouse chic" to "I clearly hired a professional." Bring out their full potential by decorating them with Elegant Ceramic Vases for floating shelf ideas in your new space, giving your home that classy, magazine-cover-worthy feel.
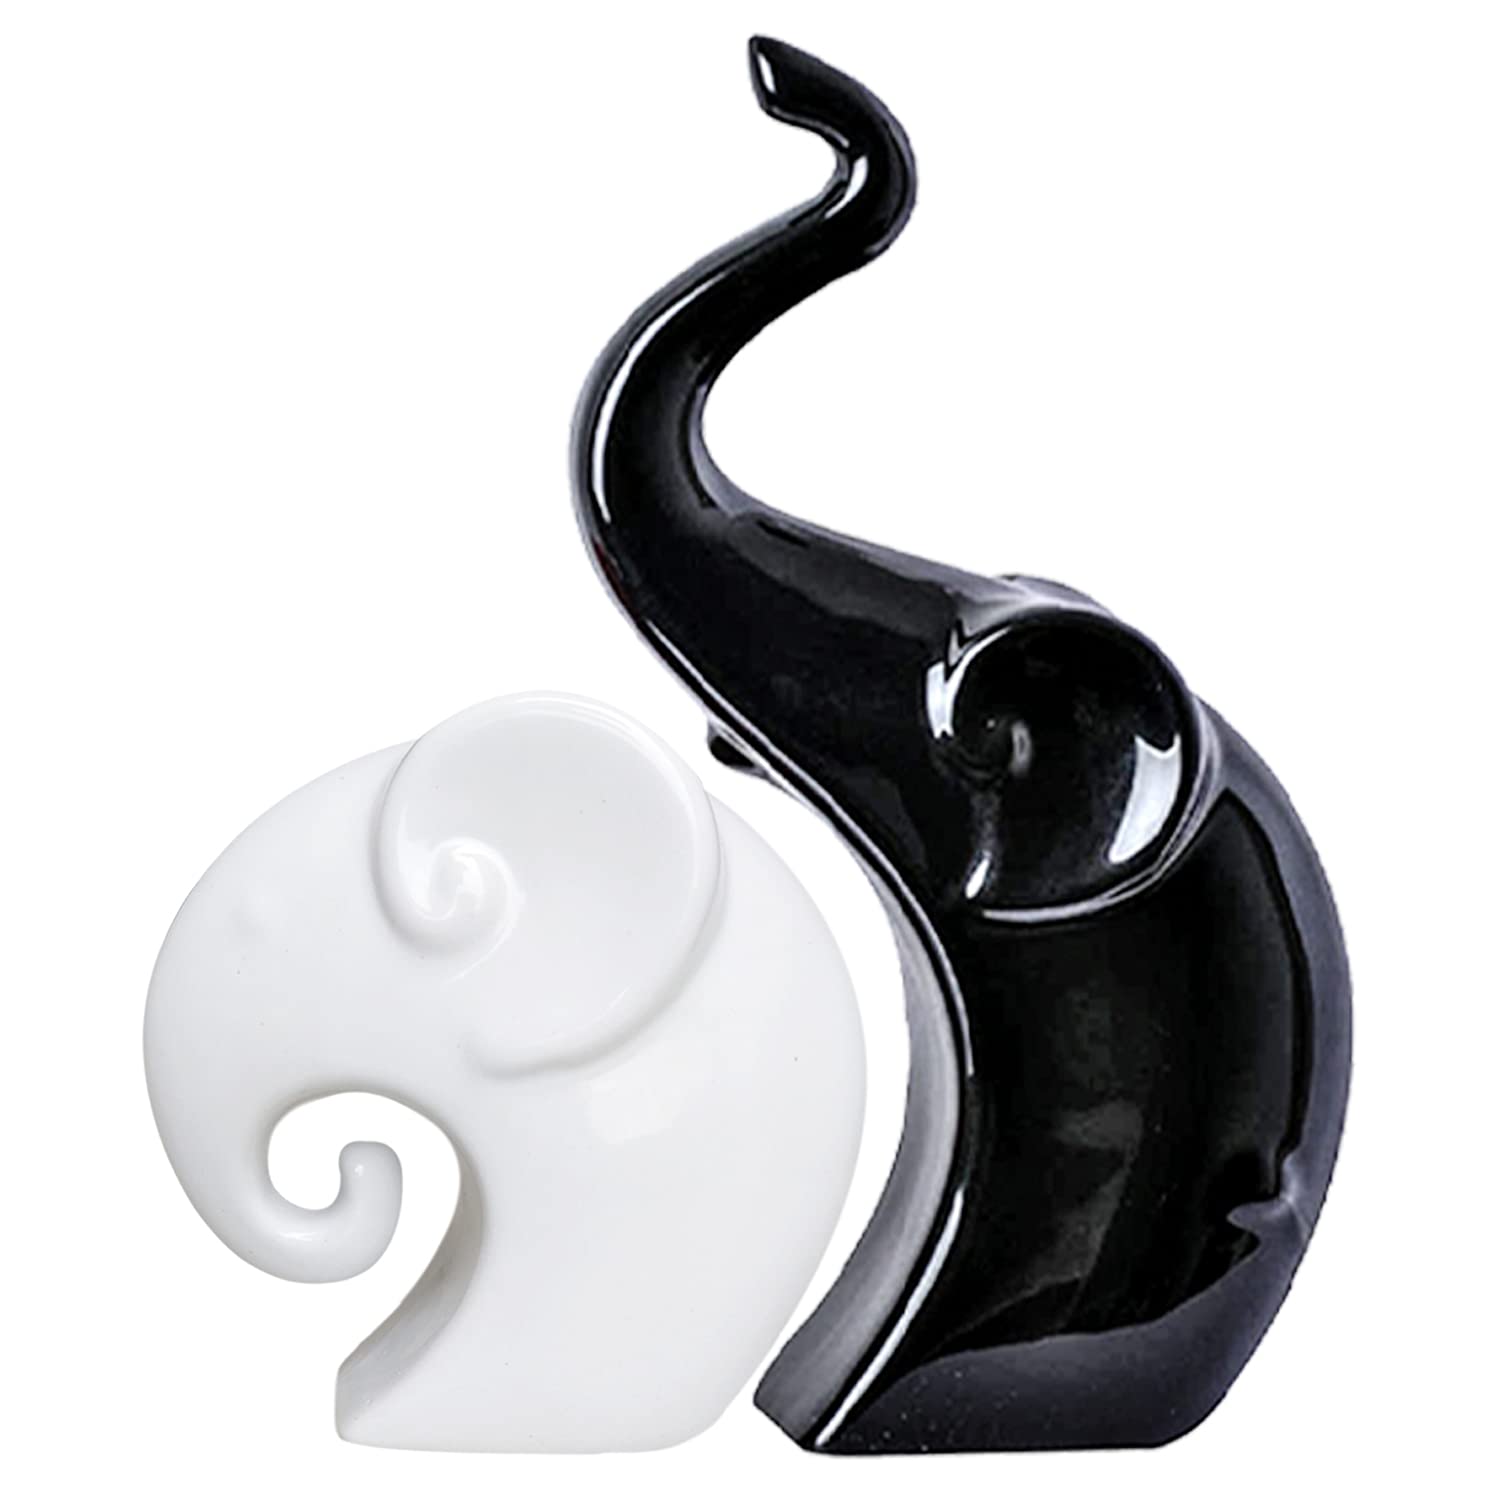
Before you start hammering away like a caffeinated woodpecker, take a breath and make a plan! The key to shelf success is proper spacing. For a balanced look, keep about 12-16 inches between shelves if you're stacking them. Trying to visualize the end result? Here's a pro tip: cut paper templates the exact size of your shelves and tape them to the wall. Move them around until you find the perfect arrangement, then snap a photo for reference. This little step saves you from the dreaded "I've made a terrible mistake" moment after you've already put holes in your wall. Remember, floating shelves are like potato chips – it's hard to stop at just one, but sometimes restraint is actually the better choice! Maximize every inch by placing Small decorative showpieces ideal for shelf layout design in new homes in compact areas like TV unit columns or atop your fridge.
The material of your floating shelves can completely transform the vibe of your room. Reclaimed wood shelves bring that "I might have a cabin in the woods" rustic charm, while sleek white or black shelves scream "I follow minimalist influencers on Instagram." Glass shelves? You're clearly sophisticated and not afraid of dusting. Metal shelves? Industrial cool that says you probably have exposed brick somewhere. My personal favorite? Mix-and-match! Combine wood and metal for an eclectic look that shows you're playful but still have your act together. Just remember, whatever material you choose should complement your existing decor – unless your existing decor is hideous, in which case, let your shelves lead the rebellion! You can begin by styling your wood or glass shelves with a Modern design resin statue suited for floating shelves that beautifully balances contemporary appeal.
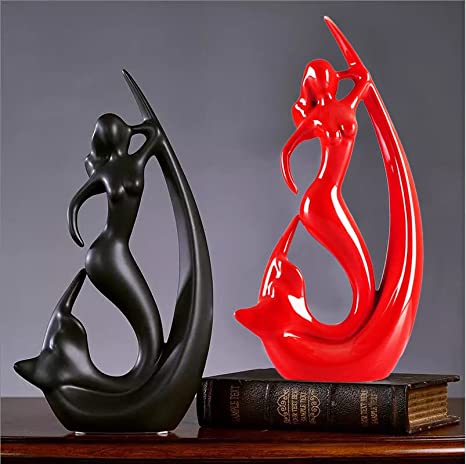
Let's face it – we're all decorating for the 'gram these days. Create a shelfie station that'll rack up those likes faster than a puppy wearing sunglasses. The secret formula? Something green (plants, real or fake), something personal (framed photos or mementos), something artistic (small artwork or sculpture), and something quirky (vintage camera, unusual bookends, tiny dinosaur figurine – you get it). Arrange these elements using the designer's rule of three, varying heights and textures. Then step back, squint dramatically, adjust one thing slightly, and voilà – you've created a moment that says "I'm casually this stylish all the time" that's worthy of your social media highlight reel! Be sure to feature a Cute Artistic statues as your Instagram floating shelf highlight to wow followers and friends alike.
Books aren't just for reading, folks – they're decorative objects that make you look intelligent! (Though reading them occasionally is also recommended.) On floating shelves, books can be arranged traditionally (standing up), artistically (stacked horizontally), or if you're feeling controversial, spine-in for that neutral color palette that designers love and readers loathe. Mix in small plants, bookends, or tiny art pieces between book clusters to break up the wall of text. Want to really impress guests? Color-coordinate your book spines to create a rainbow effect that says "I have way too much time on my hands but look how pretty!" Just be prepared for the inevitable question: "Have you actually read all of these?" (The correct answer is always "Of course!" even if it's a complete lie.) Break the monotony by including Charming Ceramic decor for brightening up floating book shelves that perfectly play with subtle or vivid colors.

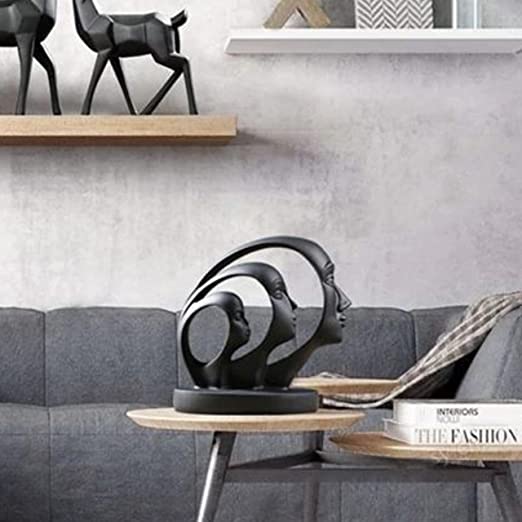
Turn your floating shelves into a vertical garden that makes you look like a responsible plant parent (even if your previous green friends have mysteriously "relocated to plant heaven"). The key is variety – mix trailing plants like pothos or string of pearls that can dramatically cascade down, with upright specimens like snake plants that add height. Add in some medium-sized leafy friends, and you've got yourself a botanical paradise! Can't keep anything alive? No judgment – high-quality faux plants have come a long way and don't require you to remember that whole "watering" thing. Pro tip: place plant shelves near natural light sources unless you enjoy watching your leafy investments slowly give up on life. Pair them with Lightweight Decorative statues to accompany your plant shelves, enhancing the natural-meets-artistic theme.
Kitchen floating shelves are the multitaskers of the shelf world – they have to look good while actually being useful. Display your prettiest dishes (hide the chipped college mugs elsewhere), arrange matching spice jars for that "I definitely cook elaborate meals" look, and showcase those fancy olive oils you got as housewarming gifts. The trick is balancing function with aesthetics – yes, you need to reach that coffee mug daily, but no, your collection of promotional plastic cups doesn't deserve shelf real estate. For extra kitchen shelf points, add a small plant (real or fake) and maybe a cute framed recipe or food quote. Just remember: anything on open kitchen shelves will eventually need dusting, so maybe reconsider displaying that decorative flour sifter that's impossible to clean! Elevate the vibe with an Artistic wall touch using small showpieces on your kitchen floating shelf, giving even your dishware a sidekick.

Living in a shoebox? Floating shelves are your new best friends! In tight spaces, go vertical to maximize every square inch. Try corner floating shelves to utilize those awkward angles that normally go unused. In tiny bathrooms, a floating shelf above the toilet adds storage without sacrificing precious floor space (just don't stack anything too heavy – nobody wants a midnight shelf avalanche). For narrow hallways, try slim picture ledge-style floating shelves that add personality without making people turn sideways to pass by. The beauty of floating shelves in small spaces is their visual lightness – unlike bulky furniture, they don't make the room feel smaller. It's like magic, but with more storage for your stuff! Use Smart, Small-sized corner showpieces to maximize tiny floating shelf zones to beautify cramped nooks without clutter.

Traditional gallery walls are so 2010 – the modern approach combines floating shelves with art for a dynamic display that you can easily change when you get bored (which, let's be honest, happens about every three months). Picture ledge-style floating shelves allow you to layer framed photos and artwork without committing to nail holes, while deeper shelves let you prop larger pieces and mix in sculptural elements. The beauty of this approach? You can refresh your display seasonally or whenever the mood strikes without patching a single hole. Create a family photo timeline, showcase your child's ever-changing artistic "masterpieces," or just display that weird ceramic thing your aunt gave you that you're obligated to keep visible whenever she visits. Try adding a Striking wall artifact with decorative showpiece flair on personal gallery shelf setup to add depth and personality.
The unsung hero of amazing floating shelves? Lighting! Strategic illumination can transform basic shelves into museum-worthy displays. Install LED strip lights underneath each shelf for a dramatic floating glow effect that makes everything look expensive (even that souvenir snow globe from your cousin's wedding). Alternatively, place a small accent lamp on one shelf to create a cozy atmosphere, or position shelves near existing light sources to highlight your treasures. For the truly committed, puck lights installed above key display items create that "special exhibit" feel. Just imagine your guests' faces when you casually mention "Let me turn on the shelf lighting" before revealing your illuminated collection of vintage action figures! Illuminate high-energy panels like Bold Horse-themed resin art to shine on your floating shelf wall design.
Styling shelves is like composing a tiny symphony – it's all about balance, rhythm, and knowing when to stop before it gets weird. Follow the designer's rule of odd numbers (groups of three or five objects generally look better than even numbers), vary heights and textures, and leave some blessed empty space so your eyes have somewhere to rest. When arranging objects, think triangles rather than straight lines to create movement across the shelf. Balance heavy visual elements with lighter ones, and dark colors with brighter accents. Step back frequently to assess the overall effect, and don't be afraid to edit ruthlessly. Remember: the difference between "curated collection" and "cluttered mess" is usually just removing three things! Add a statement with a Visually Harmonizing Buddha Showpiece suitable for large floating shelf designs to draw subtle attention.
The beauty of floating shelves is their flexibility – unlike that bulky entertainment center that requires three friends and a pizza bribe to move. Keep your shelves looking fresh by rotating seasonal elements (pinecones in winter, seashells in summer), or simply rearranging what you already have when you need a change. Remember to dust regularly (sorry, but it's true) – nothing ruins a sophisticated shelf display like a visible layer of fluff. Consider your shelves a living gallery that evolves with you – add new treasures from travels, remove items that no longer spark joy, and occasionally stand back to appreciate your ever-evolving design genius. The best part? When trends change, you don't have to replace entire furniture pieces – just restyle what you've got!
The hottest shelving trends right now include asymmetrical arrangements (goodbye, perfectly aligned shelves!), mixed materials like wood with metal accents, dramatic contrast between shelf color and wall color, and "less is more" styling with carefully curated objects rather than crowded displays. We're also seeing a rise in curved and irregular-shaped floating shelves that serve as art pieces themselves, and sustainable materials like bamboo or reclaimed wood for the eco-conscious decorator.
The best layout depends on your specific space and needs, but generally, odd numbers of shelves (three or five) create more visual interest than even numbers. For balanced arrangements, maintain consistent spacing between shelves (about 12-16 inches). For more dynamic layouts, try staggering shelves at different heights or creating an asymmetrical pattern. When in doubt, cut paper templates and tape them to your wall to visualize different arrangements before committing!
The golden rule is to secure them properly into studs or use appropriate wall anchors – nothing ruins your day like a shelf collapse! Design-wise, the rule of thirds helps create balanced arrangements: visually divide your wall into a grid of nine equal sections and place shelves along these lines for a naturally pleasing composition. Also, ensure proportional scale – tiny shelves look lost on a massive wall, while enormous shelves overwhelm small spaces.
The best wall decoration reflects your personality while enhancing your space. Beyond floating shelves, consider mixing in wall art at varying heights, adding dimensional elements like wall sculptures or planters, incorporating mirrors to reflect light, or using removable wallpaper for accent areas. The most successful wall decorations combine different elements rather than relying on just one technique, creating layers of visual interest.
Start with a plan rather than random additions! Consider your wall's focal point (is it centered around a TV, fireplace, or bed?), then build your design around that anchor. Choose a cohesive color palette that complements your existing decor. Layer different elements – shelves, art, mirrors, textile hangings – at various heights. Leave some negative space to prevent visual overwhelm, and make sure your design serves both aesthetic and functional purposes.
Beyond traditional floating shelves, consider installing a living wall section with preserved moss or air plants, creating a magnetic wall surface for constantly changing displays, mounting musical instruments as functional art, installing an interactive chalkboard or whiteboard area, hanging vintage plates or baskets in a collected arrangement, or creating a wall of suspended hanging planters at different heights. For the truly adventurous, projection mapping technology can transform a plain wall into an ever-changing digital display!


