
Cart
Hello there, fellow blank-wall-hater! Is your living room giving off major "I just moved in three years ago" vibes? Are you nodding sadly at that vast expanse of nothingness every time you walk in? Well, toss that frown upside down because today we're diving into the world of DIY wall hangings that are so easy, even your cat could help (though we don't recommend it unless you want paw prints as part of your design). These projects are perfect for those of us who break out in hives at the thought of complicated crafts but still want our homes to look like we've got our lives together. So grab that cup of coffee (or wine, no judgment here), and let's transform your walls from "meh" to "magnificent" faster than you can say "Pinterest fail"! And to give your space that final flourish, consider adding a Stunning Abstract Showpiece for easy Living Room DIY hanging that complements your DIY creations beautifully.

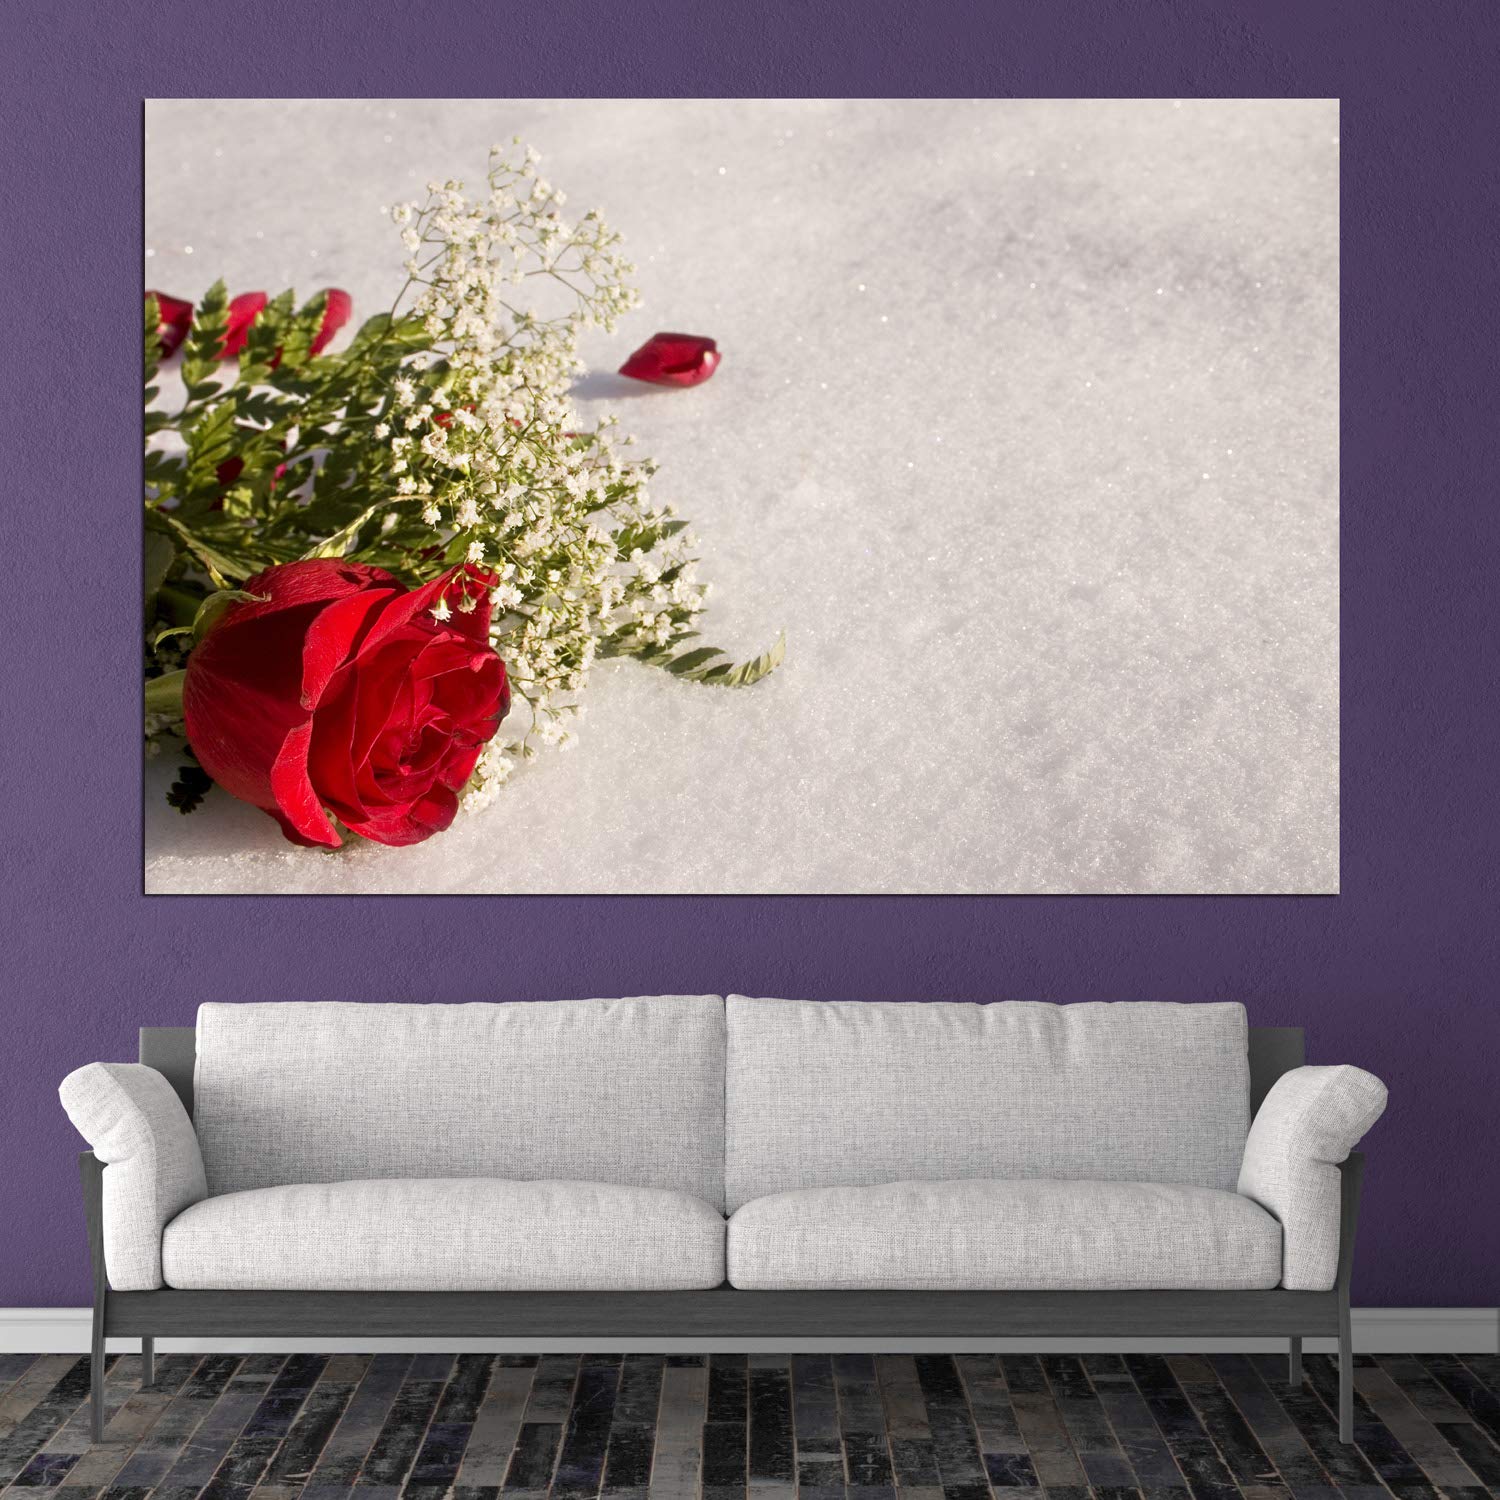
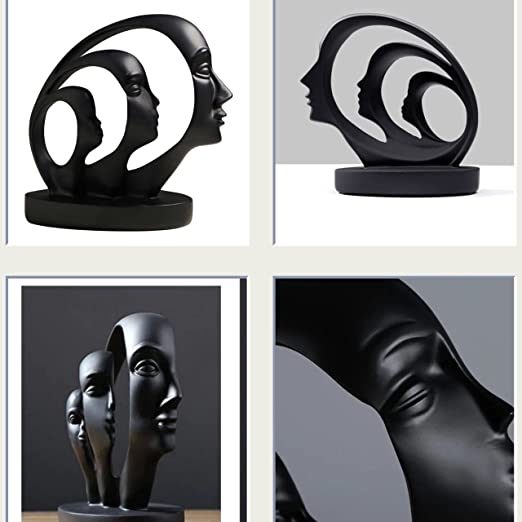
Not all of us were blessed with artistic talent, and that's perfectly fine! For the artistically challenged among us, abstract art is your new best friend. Grab a canvas, splash on some paint in your favorite colors, and voilà – you're basically Picasso! The beauty of abstract art is that there are no rules. Splatter, drip, or smear paint around while dancing to your favorite tunes. If anyone asks what it represents, just stare thoughtfully and say, "What do YOU think it means?" Trust me, they'll be impressed by your "depth." Hang your masterpiece with pride, knowing that even if it looks like your toddler made it, it's still 100% uniquely yours! To level up your gallery wall, try pairing your canvas with a Modern design statue that sparks creativity in Living Room DIY decor.
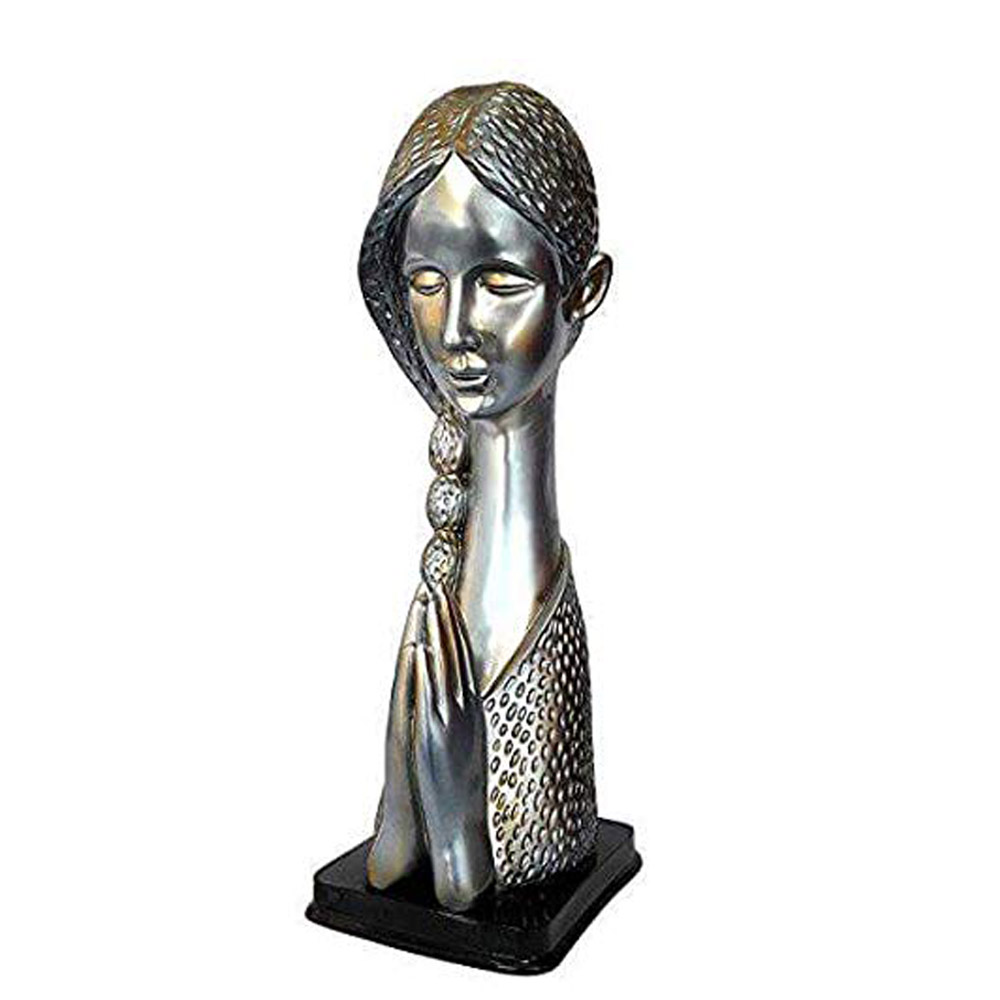
Have a gorgeous scarf that's too pretty to wear but too expensive to hide away? Or maybe a fabric remnant that caught your eye? Frame it! This might be the easiest DIY in history – stretch fabric over a canvas or pop it in a frame, and suddenly you've got wall art that looks like you spent a fortune at a boutique. Bonus points if you use vintage scarves or textiles with cultural significance – not only will your walls look amazing, but you'll also have a great story to tell when guests inevitably ask, "Where did you get that stunning piece?" (Just don't tell them it took you all of five minutes to make!) For a cohesive touch on shelf nearby, add a Small decorative showpiece perfect for framed DIY wall fabric accentuation.

Macramé is having a serious moment, and for good reason – it looks impressive but is secretly just a bunch of fancy knots! Start with a simple wall hanging using thick cotton rope and a wooden dowel. There are thousands of beginner tutorials online that break it down step by step. The best part? If you mess up, just call it "intentionally asymmetrical" or "artistic interpretation." Once you've mastered the basics, you can create anything from plant hangers to intricate wall pieces. Warning: you may develop an uncontrollable urge to say things like "organic materials" and "tactile experience" after completing your first project. Add charm to those knotted beauties with a Glazed Ceramic Vase for DIY-inspired Macramé Wall Hanging Corners.

For those of us with the opposite of a green thumb (a black thumb?), pressed plants and flowers are the perfect solution. They bring natural beauty indoors without requiring water, sunlight, or any plant-parent skills whatsoever! Collect leaves, ferns, or flowers, press them between heavy books for a few weeks, then arrange them in floating frames. The result is elegant, botanical art that's literally dirt cheap. Plus, when friends compliment your sophisticated taste, you can humbly mention that you "foraged" the materials yourself, conveniently leaving out that the "foraging" happened in your neighbor's garden when they weren't looking. (Just kidding – always ask permission first!) Pair this leafy artwork with a Tall showpiece for pressing elegance into DIY botanical Living Room decor!

Afraid of hammer and nails? Terrified of permanent decisions? Washi tape is here to rescue you! This colorful, removable tape can create stunning geometric patterns, faux frames, or even full-scale murals on your walls – no commitment required! Create a mountain range, cityscape, or abstract design with various colors and patterns. The best part? When you inevitably change your mind (we see you, fellow Geminis), it peels off without damaging your walls. It's like the dating app of wall decor – easy to try out and no hard feelings when you want to move on to something new! For a coordinated twist, add a Bright Resin Showpiece matching your Washi Tape DIY wall themes.
Remember making string art in elementary school? Well, it's time to reclaim that childhood joy, but make it chic! All you need is a wooden board, some nails, and colorful string or thread. Hammer nails in a pattern (a heart, mountain silhouette, or your state outline are foolproof options), then wrap string around the nails to create your design. It sounds simple because it is, but the result looks impressively complex. Pro tip: Have a band-aid ready for when you inevitably hammer your thumb instead of the nail. That's just part of the authentic DIY experience! Complement this textured craft with a Small Abstract Showpiece for String Art Shelves and Niches.
Let's be honest – those gorgeous vacation photos deserve better than being trapped in your phone's digital dungeon. Create a photo wall that makes your memories the star of the show! Print your favorites (yes, actual physical prints – retro, I know), then arrange them in a fun pattern. Try a grid for the Type A personalities, a heart shape for the romantics, or a chaotic cluster for the free spirits. Use washi tape for a casual look or identical frames for something more polished. Now your friends can see that amazing beach sunset without you forcing them to swipe through 437 nearly identical photos on your phone! Add refinement by including a Modern showpiece to highlight your DIY photo wall layout.
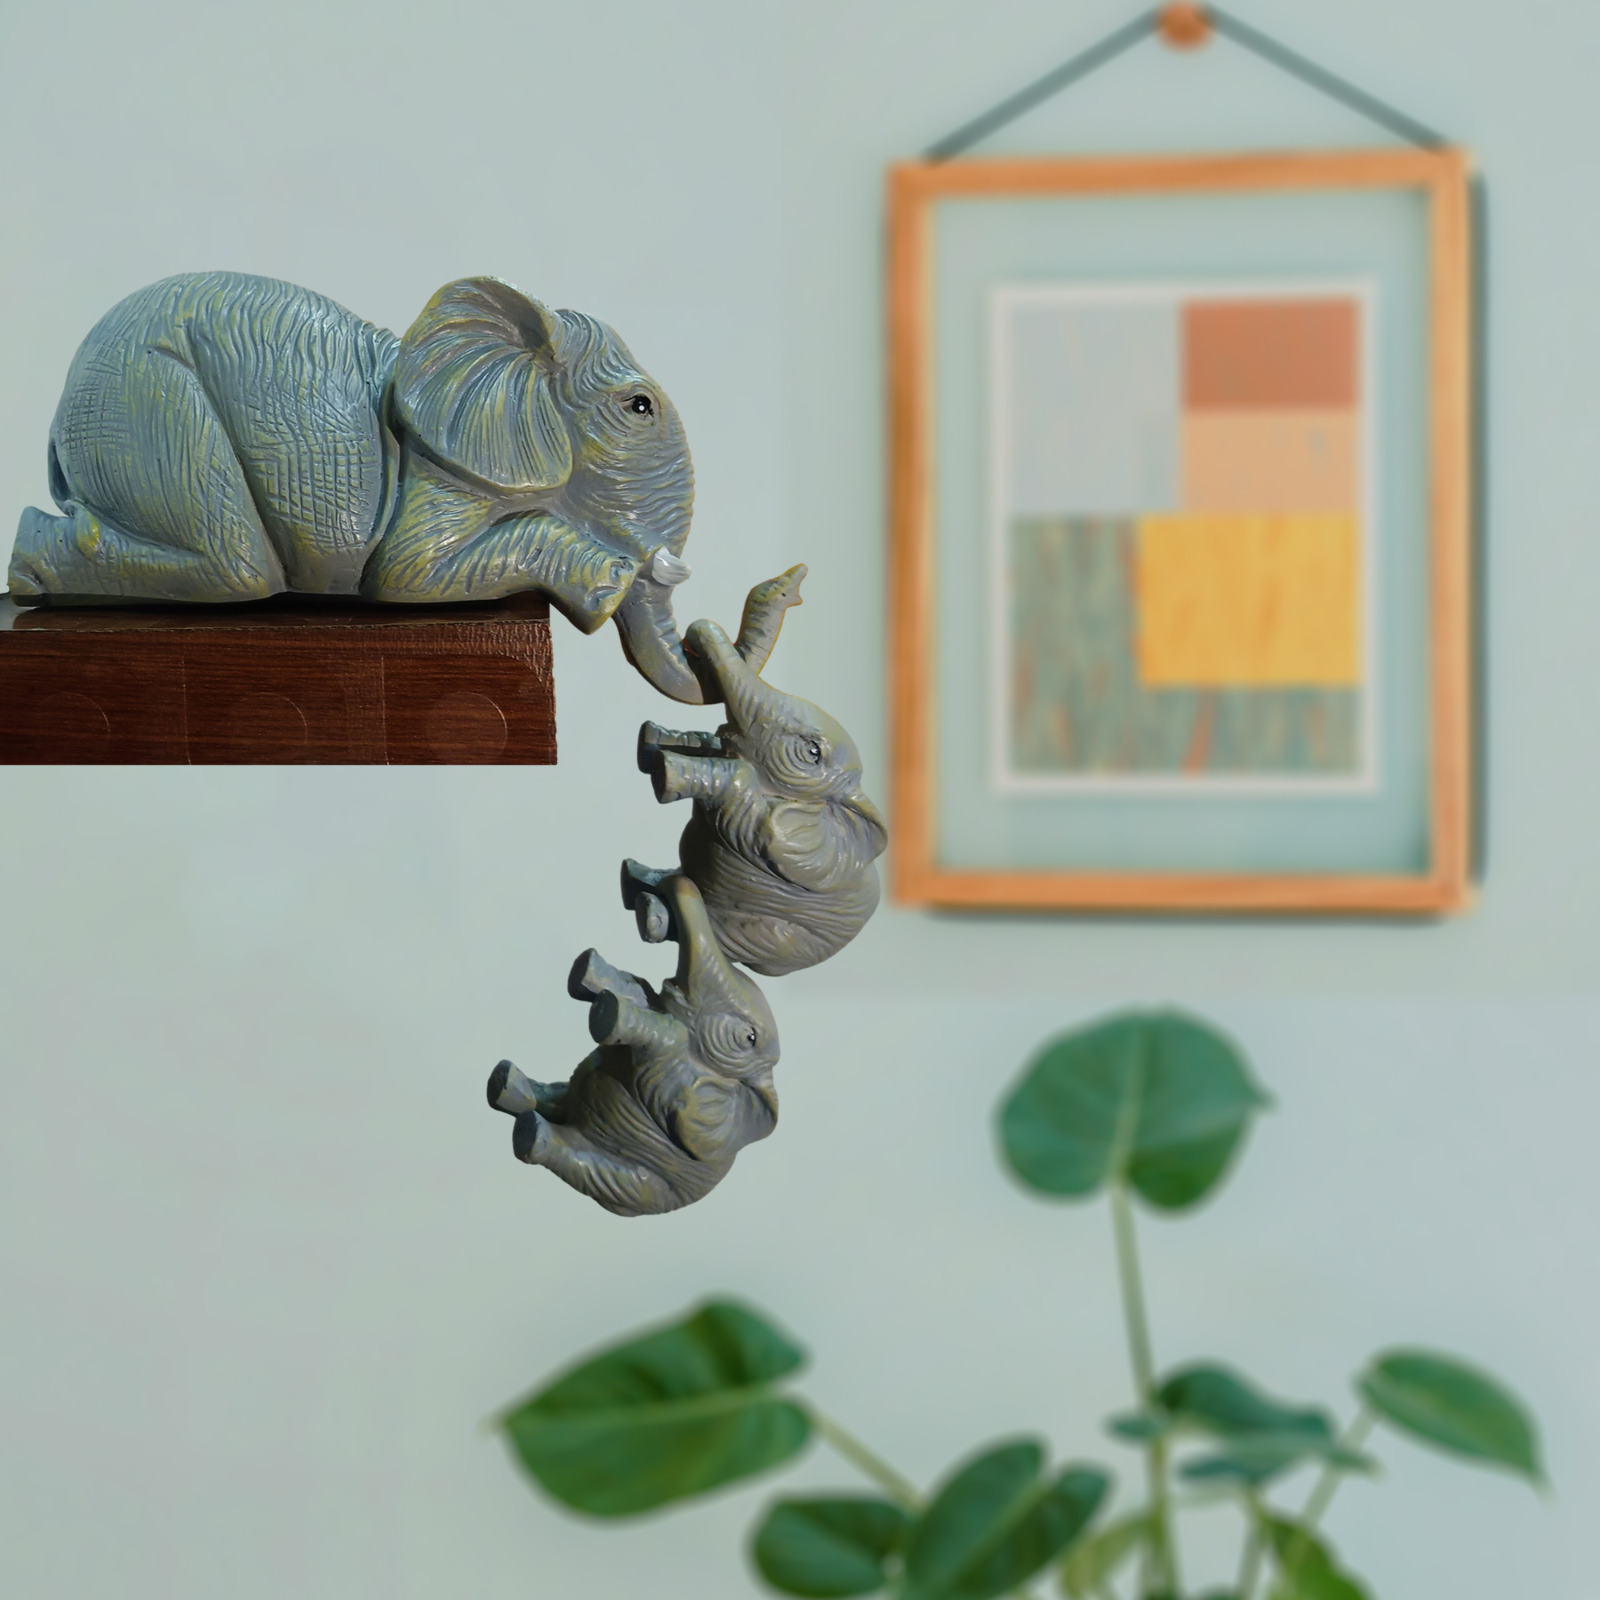
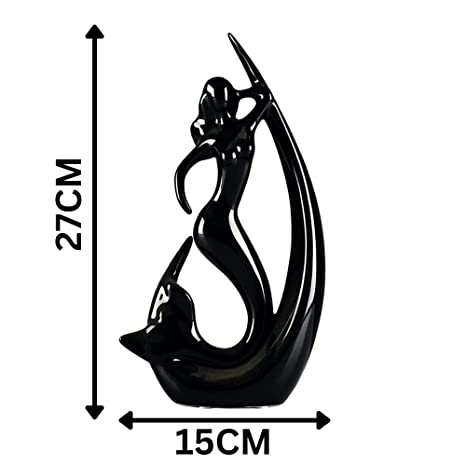
Floating shelves are the multitaskers of the wall decor world – they're both functional AND fashionable (like the yoga pants of home decor). Install a few at different heights, then style them with small plants, candles, and those random trinkets you've been hoarding "just because." The beauty of shelves is that you can change what's on them whenever boredom strikes. Seasonal decorating made easy! Just remember the golden rule of shelf styling: odd numbers look better than even ones, and varying heights create visual interest. Now you sound like an interior designer already! Cap off your shelf display with a Vertical showpiece perfect for Floating Shelf DIY styling.
For maximum impact with minimal effort, nothing beats a tapestry. These fabric wonders instantly transform a room and cover a massive amount of wall space for relatively little cash. Choose bohemian patterns for laid-back vibes, geometric designs for modern spaces, or nature scenes to bring the outdoors in. Hanging is a breeze with thumbtacks, a curtain rod, or even those removable command strips (landlord approved!). The best part? When someone spills red wine on your white couch, no one will notice because they'll be too busy admiring your excellent taste in wall hangings! For an eye-catching corner, place a Decorative Ceramic Vase that shines beside your DIY wall tapestry.

Thrift stores and flea markets are treasure troves of flat baskets just begging for a second life on your walls! Create a collection of different shapes, sizes, and weaving patterns, then arrange them in a pleasing configuration. The natural textures add warmth and dimension to any room, and guests will think you've traveled the world collecting handcrafted artifacts (not just the clearance section at HomeGoods). It's especially perfect for that awkward wall space that's too narrow for furniture but too wide to ignore – you know the one! Add accents using a Minimalist Abstract Showpiece inspired by textured DIY wall baskets.

Think you need artistic talent to create a mural? Think again! With painters tape and a bit of patience, anyone can create geometric wonders. Tape off triangles, hexagons, or simple stripes, then fill in with colors that complement your space. Remove the tape while the paint is still slightly wet for the crispest lines. If geometry isn't your thing, try an ombré effect by blending colors from dark to light – it's surprisingly forgiving for beginners. When friends ask who your artist is, just flip your hair and say, "Oh, this little thing? I just threw it together last weekend." Humble brag level: expert. For a visual anchor, consider a Large Resin Showpiece to complete your DIY painted mural wall décor!
Start simple with a no-sew fabric hanging! First, find a beautiful piece of fabric and a wooden dowel. Fold the top edge of the fabric over the dowel and secure it with fabric glue or a simple stitch. Add some decorative beads or tassels to the bottom edge if you're feeling fancy, then hang your creation using twine or string attached to each end of the dowel. Voilà – you've just created wall art without breaking a sweat! For macramé beginners, start with just two basic knots (the square knot and larks head knot) and follow along with YouTube tutorials at half speed. Remember, practice makes perfect... or at least "good enough for Instagram"!
Paper crafts win the budget-friendly crown hands down! A pack of colorful cardstock can be transformed into origami shapes, paper flowers, or geometric designs that look way more expensive than they actually are. Another penny-pinching option is repurposing what you already own – old books with pretty covers can be wall-mounted as shelves, vintage plates can become a decorative display, and even that collection of concert tickets or wine corks can be artfully arranged in a shadow box. Nature also provides free materials – think pinecones, interesting branches, or stones arranged in a shadow box or mounted on canvas. Remember: one person's trash is another person's statement wall piece!
Large walls call for dramatic solutions that won't drain your bank account! Create a fabric wall hanging using a bed sheet or affordable fabric – simply hem the edges, add a pocket for a curtain rod at the top, and hang it like you would a curtain. Another budget-friendly option for big walls is paint techniques like color blocking, where you use painter's tape to create large geometric sections in different colors. For the truly budget-conscious, wallpaper just one large rectangle in the center of your wall to create a "framed" effect that looks intentional while using minimal materials. Or go the gallery wall route with thrifted frames painted the same color – you can fill them with anything from wrapping paper to your child's artwork!
Simplicity is actually the secret to sophisticated wall decor! Start with a single large statement piece – it could be a tapestry, oversized mirror, or large-scale art print. Position it at eye level (typically center point about 57-60 inches from the floor), and you're done! Another foolproof approach is the "rule of three" – group three similar items (like framed prints or woven baskets) in a horizontal line. For the ultimate in simplicity, floating shelves styled with just a few carefully chosen objects create visual interest without overwhelming the space. Remember, in wall decor as in life, sometimes less really is more!
Your wallet will thank you for these budget-friendly wall art tricks! Frame pretty gift wrap, fabric samples, or pages from old calendars for instant art. Create your own painted canvas by applying tape in geometric patterns, painting over it, then removing the tape to reveal crisp designs. Vintage scarves or handkerchiefs look amazing when framed. Old maps make gorgeous wall art, especially if they highlight places that are meaningful to you. For the musically inclined, frame album covers or sheet music. Nature lovers can press and frame leaves or flowers. And don't forget about printable art – countless artists offer affordable downloadable prints online that you can print at home or at a local copy shop for just a few dollars!
Minimalist wall art follows the "less is more" philosophy with clean lines, limited color palettes, and plenty of negative space. Think simple geometric shapes, line drawings, or abstract forms that create visual impact without clutter. Black and white photography, especially with high contrast, is classic minimalist wall art. Text-based pieces featuring a single word or short phrase also fit the bill. The key is restraint – in a minimalist approach, you might have just one striking piece on a wall rather than a collection. Materials tend to be simple and unadorned – raw wood, natural canvas, or metal frames without embellishment. Minimalist wall art doesn't shout for attention; instead, it creates a sense of calm while still making a sophisticated statement!


